BEGINNER GUIDE
Mortal Shell II Beginner Guide: First Steps, Shells and Combat
[QUICK ANSWER]
Start with the basics: choose a Shell, learn posture breaks, understand weapons and sidearms, and explore the interconnected world one landmark at a time.
Quick Start
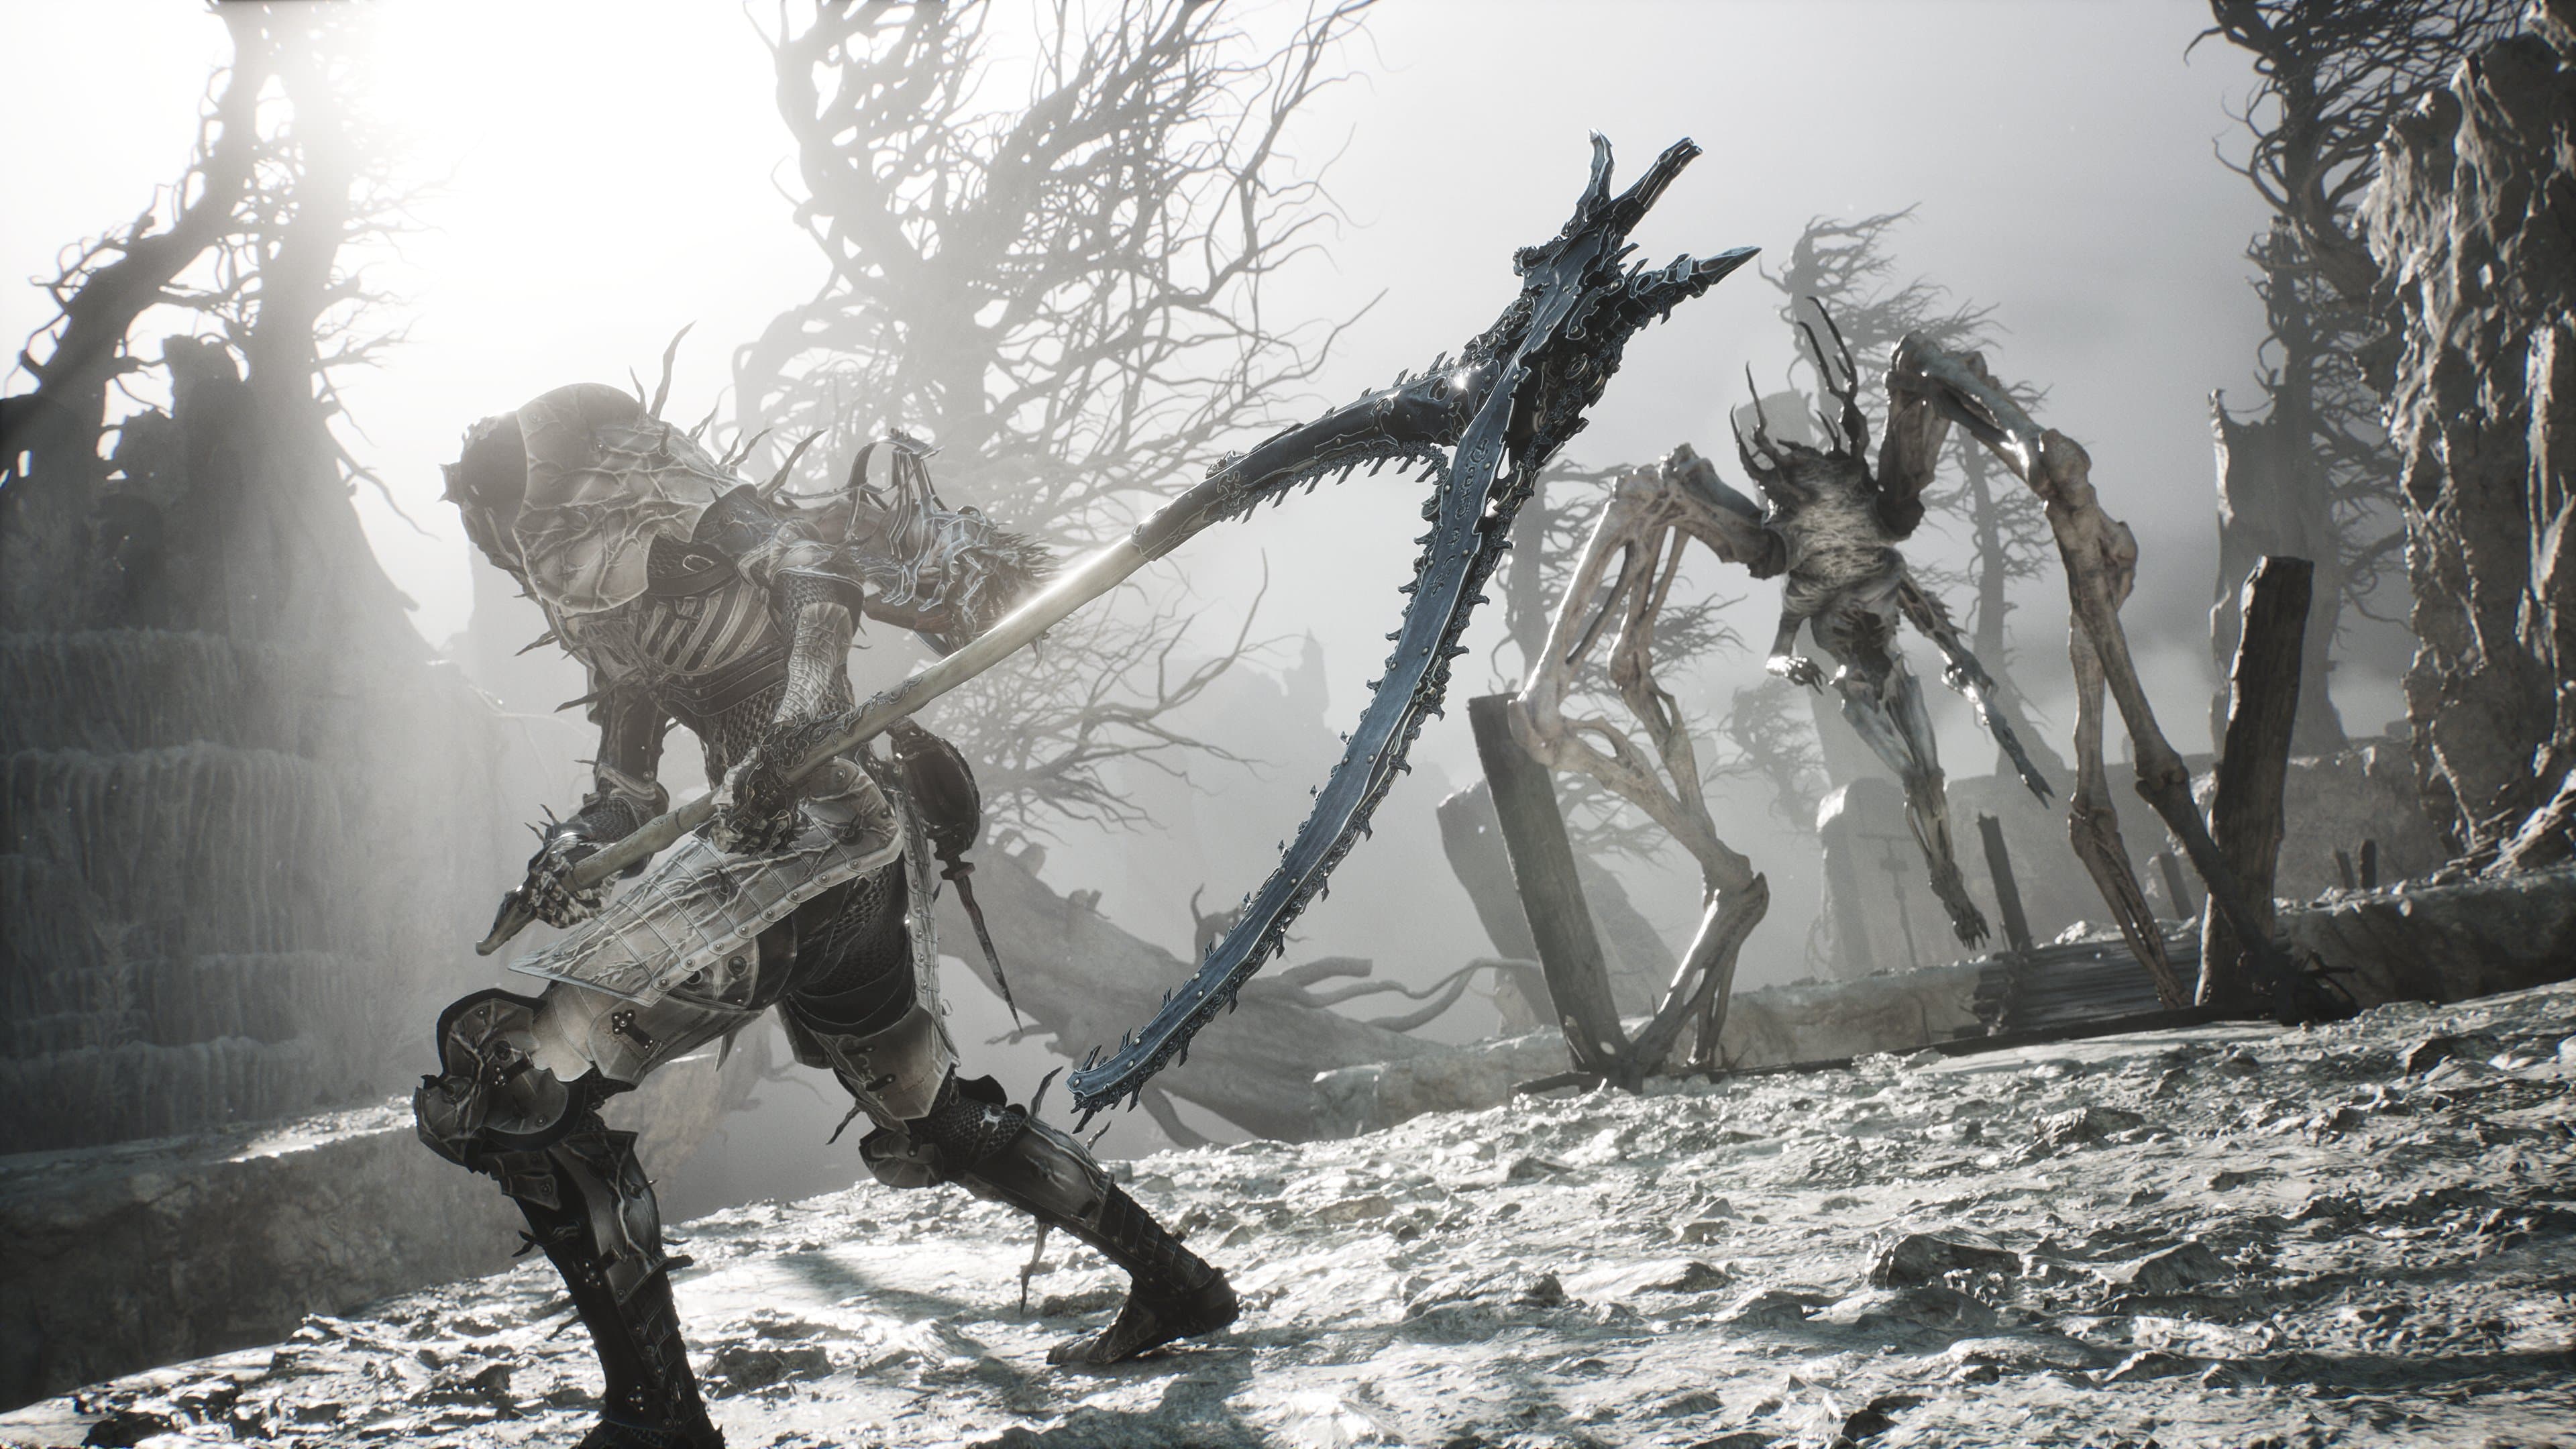
Begin by learning the game’s core loop rather than chasing a complete build. Mortal Shell II is built around discovering and possessing fallen warriors known as Shells. The official site lists eight playable Shells, and each one changes the context in which you use the combat and progression systems.
Start with the Shells hub, then choose a weapon and practice the basic combat loop before committing to a build.
Shell basics
Shells provide the body, abilities, and playstyle context for the Harbinger. The documented system includes Shell skill trees, different playstyles, elemental resistances, and switching at Beacons. Shell choice matters, but there is no universal best Shell for every encounter.
If you want to understand customization, read Character Creation: What to Expect. It explains the documented Shell-based system without adding an unverified face, body, voice, or name editor.
Core Combat
Combat is not restricted by a traditional stamina bar. Look for ways to shatter enemy posture and turn the opening into a critical strike. Spacing, timing, blocking, dodging, parrying, and hardening matter more than emptying a conventional attack meter.
When a fight feels unclear, focus on one question at a time: can you create a posture break, can you survive the next exchange, and can your current Shell and weapon support that rhythm? Enemy-specific weaknesses and boss patterns are not listed unless they are directly documented.
Weapon Basics
Mortal Shell II pairs melee weapons with sidearms and upgrade choices. Weapons have different attack rhythms, abilities, and upgrade or infusion options, while Resolve supports ammunition, secondary ranged tools, and weapon or Shell abilities.
Use the Weapons hub for the verified weapon names and location status. Use the Black Needle guide only for the weapon-specific details that are actually documented there.
Resources and upgrades
Resolve supports ammunition, secondary ranged tools, and weapon or Shell abilities. Upgrades, infusions, Tarstones, and sidearms all affect how a weapon fits a run, so test the equipment you already have before chasing a perfect setup. The Black Needle guide contains the only weapon-specific upgrade table currently listed here.
Exploration
The world is described as compact, interconnected, and built around hidden structures. Check branches, gates, Beacons, and dungeon entrances before assuming a path is finished. The Open World guide explains the named region connections, while the Map & Locations guide keeps the location index limited to verified anchors.
Progression priorities
Use this order when you are unsure what to do next:
- Learn the posture and survival loop.
- Test the Shell and weapon combination you already have.
- Inspect side paths and return to named Beacons when a route branches.
- Open the focused guide for the specific key, dungeon, weapon, or system blocking you.
This is a navigation priority, not a required quest order. No complete region-by-region route is listed here.
Common mistakes
- Treating a Shell choice as a permanent tier-list decision.
- Spending Resolve without considering whether a sidearm or Shell ability is the better use for the next exchange.
- Entering a dungeon without noting the nearest Beacon or the route back through its connected region.
- Treating Steam Deck test settings as Windows system requirements.
- Looking for co-op or PvP menus when the current platform and developer information describes offline, one-player play.