SHELLS · CLASSES
Mortal Shell II Shells: Classes and Playstyles
Mortal Shell II’s Shells are the game’s documented class-like system: possess fallen warriors, use their abilities and stats, and switch between unlocked Shells at Beacons. The collected pages name eight Shells, but do not supply a verified ranking.
Last verified: August 23, 2026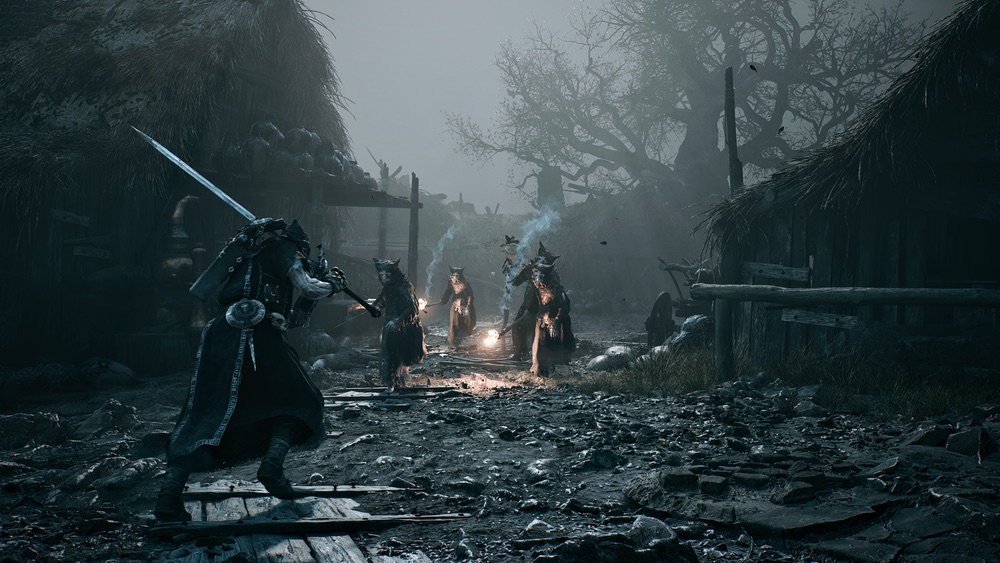
The direct answer
Shells are fallen warriors that the Harbinger can possess, and they function more like classes than simple cosmetic outfits. The official site confirms eight playable Shells, while the collected Shells page names Eredrim, Genessa, Gragu, Lazlo, Proxima, Sariel, Smert, and Tiel. Each Shell is presented as a different way to shape abilities, stats, and combat decisions.
The research does not support a universal “best Shell.” One review says Shells determine which skills and abilities can be acquired, while a Steam Deck review describes separate skill trees, different playstyles, and elemental resistances. That evidence supports choosing around the encounter and your preferred rhythm, not publishing an unverified tier list.
The eight names in the collected guide
The Fextralife Shells page lists Eredrim the Venerable, Genessa the Wayward, Gragu the Insatiable, Lazlo the Justiciar, Proxima the Broodseeker, Sariel the Endless, Smert the Apostate, and Tiel the Acolyte. These are the eight names visible in the collected page and align with the official site’s statement that the game has eight playable Shells. The page does not provide a complete stat table for them in the captured material.
The Reddit trailer discussion is older community evidence and includes guesses about Shell appearances and returning characters. It is useful as context for why players recognize names such as Eredrim and Tiel, but it is not a reliable source for the final roster or final abilities. The official eight-Shell statement and the readable Shells page are the safer facts to keep in the guide.
Possession replaces a conventional class choice
The review describes the Harbinger as a formless being without an identity. Shells supply the body, class-like strengths, and abilities, which means the player’s build identity is expressed through the warrior they possess rather than through a traditional character-creation screen. That is why the keyword “Shells” is more useful than asking for a starting class menu.
Once a Shell is found, the collected Fextralife page says it becomes permanently unlocked, while the review says unlocked Shells can be swapped at a Beacon. The two statements describe the same practical loop from different angles: discover the body, retain access to it, and use a rest point when you want to change. The material does not name the unlock location for each of the eight Shells.
Skills, memories, and progression
The review describes a compact skill tree for each Shell. Skill points arrive at specific character levels, while Glimpses and memories of fallen heroes build trust with the Shell and unlock a new tier of skills. Leveling the character itself assigns health, damage, and other key stats rather than asking the player to distribute every point manually.
The Steam Deck review adds that one Shell can be equipped at a time and that its skill tree can be respecced for free when switching to a new Shell. That detail makes experimentation part of the documented system. It also means a guide should not claim that choosing one Shell permanently locks the player into one build unless a source explicitly says so.
Shell choice and encounter context
The Steam Deck review says Shells are tuned for different playstyles and elemental resistances, and gives the example of preparing Eredrim against Frost or investing toward Shoulder Bash and Riposte damage for a boss. Those examples show how a Shell can answer a specific region or enemy condition. They do not establish that Eredrim is always the strongest choice, because the review presents them as one player’s setup.
The broader combat sources describe blocking, dodging, parrying, hardening, posture breaks, weapons, sidearms, and Resolve. A Shell choice changes the context in which those systems are used, but it does not replace them. If a fight is failing, compare the Shell, weapon, sidearm, and Tarstones together rather than searching for a single universally correct body.
A note about conflicting roster details
One Fextralife note says Harros can be obtained early but may be lost for the rest of the game, while the official site and the Shell list describe eight playable Shells without presenting Harros in the final named list. The Reddit trailer discussion also includes older speculation about Harros and other returning characters. Because these pieces do not line up cleanly, this page does not add Harros to the final eight-name roster as a confirmed entry.
That does not erase Harros from other walkthrough material. The collected Rock Paper Shotgun walkthrough describes the Prologue as introducing the Harbinger and first Shell, Harros. The careful conclusion is that Harros is documented in the opening walkthrough context, while the final eight-name roster and long-term availability need to be kept distinct.
How to choose without a fake ranking
Choose the Shell whose documented strengths answer the problem you are facing: a resistance concern, a preferred skill tree, a posture or Riposte focus, or a need to experiment. Use Beacons as the confirmed switching point, and remember that the Steam Deck review describes free respec when changing trees. Keep the rest of the kit visible because weapons, Tarstones, and sidearms also shape the result.